Instance overview
This overview is available when you click Workflows > Overview. It helps you manage and track running instances and stop or delete an instance if needed. You can also use the Filters and sorting to find the instance you need. You can apply filtering to every column.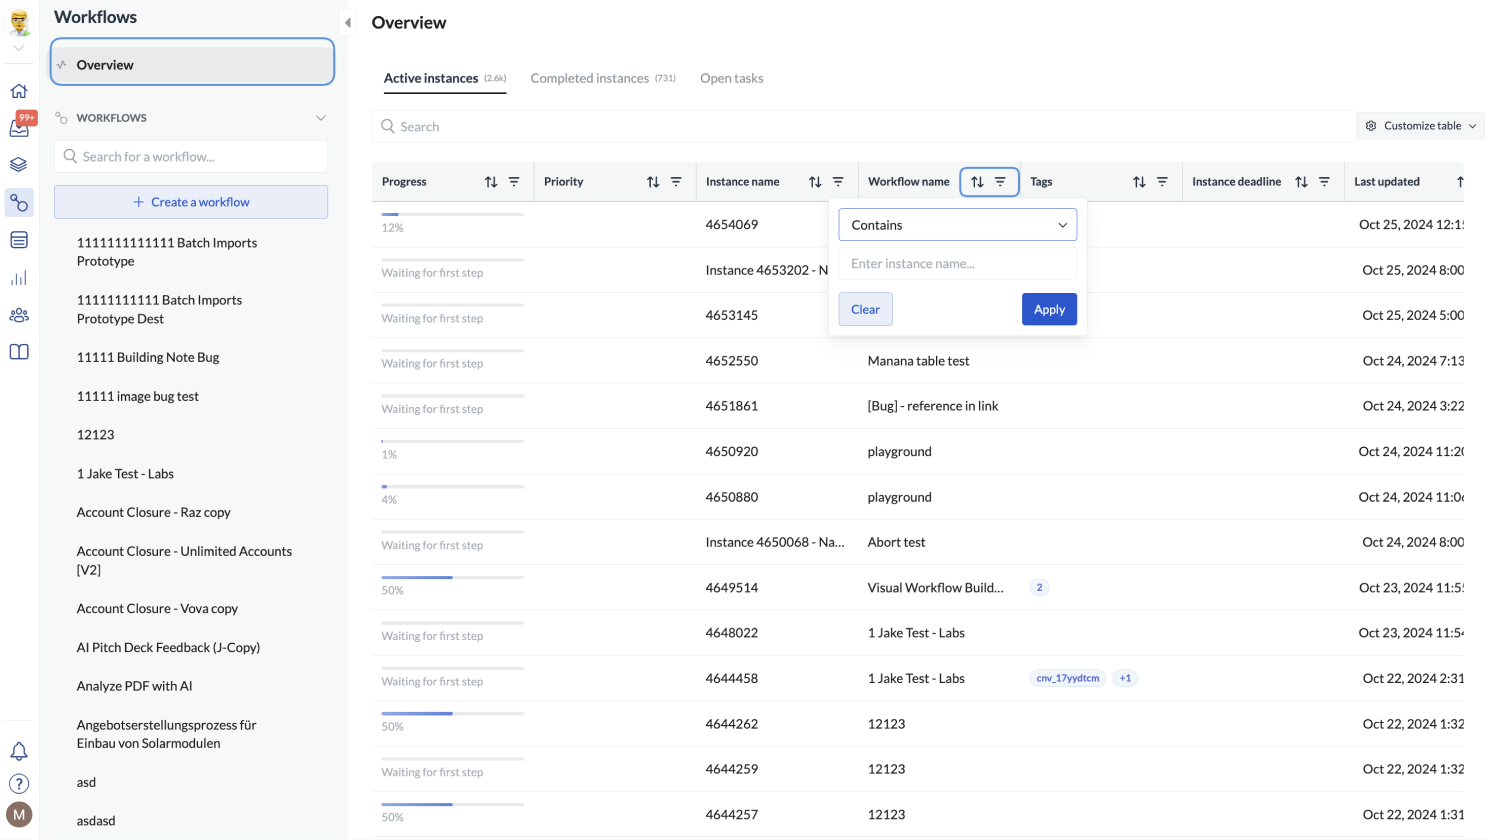
Customize overview
As an admin, you can also modify the table’s look for your organization. You can change the order of columns, modify their width, and select which columns are visible (up to 20 columns per table). You can also display the content of form fields as column data. This is particularly helpful when you need to track specific information as part of your workflows. When you have modified the default view, simply publish the changes for everyone.You can pull out data from the following form fields: short text, radio, checklist, date, single-value dropdown, and multi-value dropdown. You can only add custom data present in the most recent version of a workflow.
Removed fields in custom columns
Next Matter displays custom data but also manages obsolete fields removed from the latest workflow versions. If a field was removed from the workflow but has been added to the table, we display it in the selection pop-up. From the moment the field has been removed from the workflow, no new data has been populated in the table column, and if needed, you can remove the column from the table. If you remove such a column from the table, you can’t re-add it later on.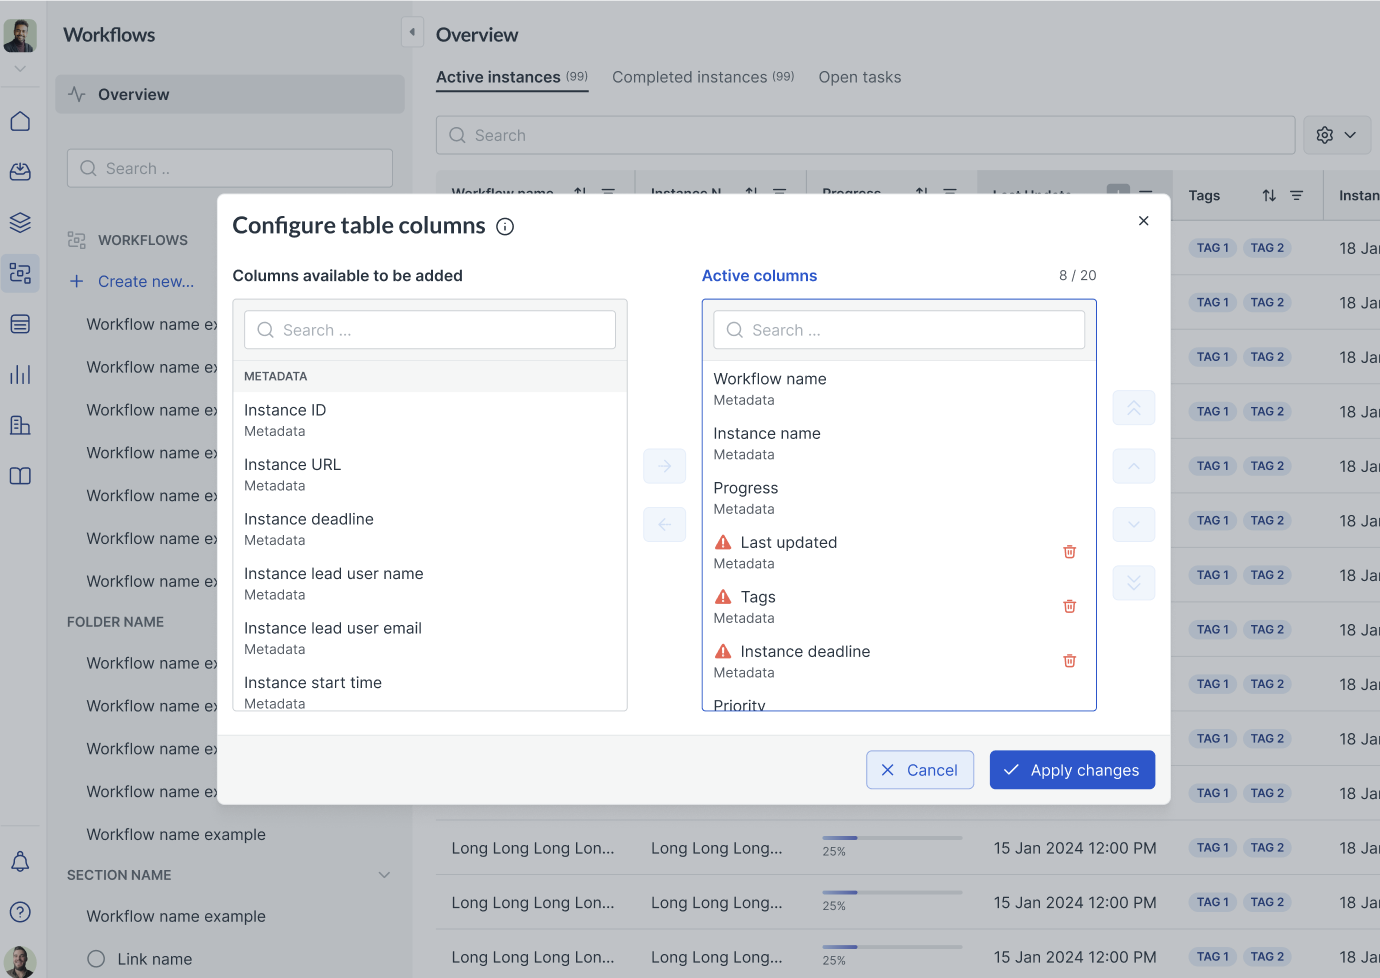
Restricted fields
Next Matter also handles restricted data to ensure sensitive information isn’t exposed to users without proper access rights.Workflow details overview
To see workflow details, click the workflow name on the list and click the pen icon or the eye icon on the left of the workflow name. This opens general workflow details such as the list of steps, the details of the workflow lead, workflow visibility, status, and the tech lead.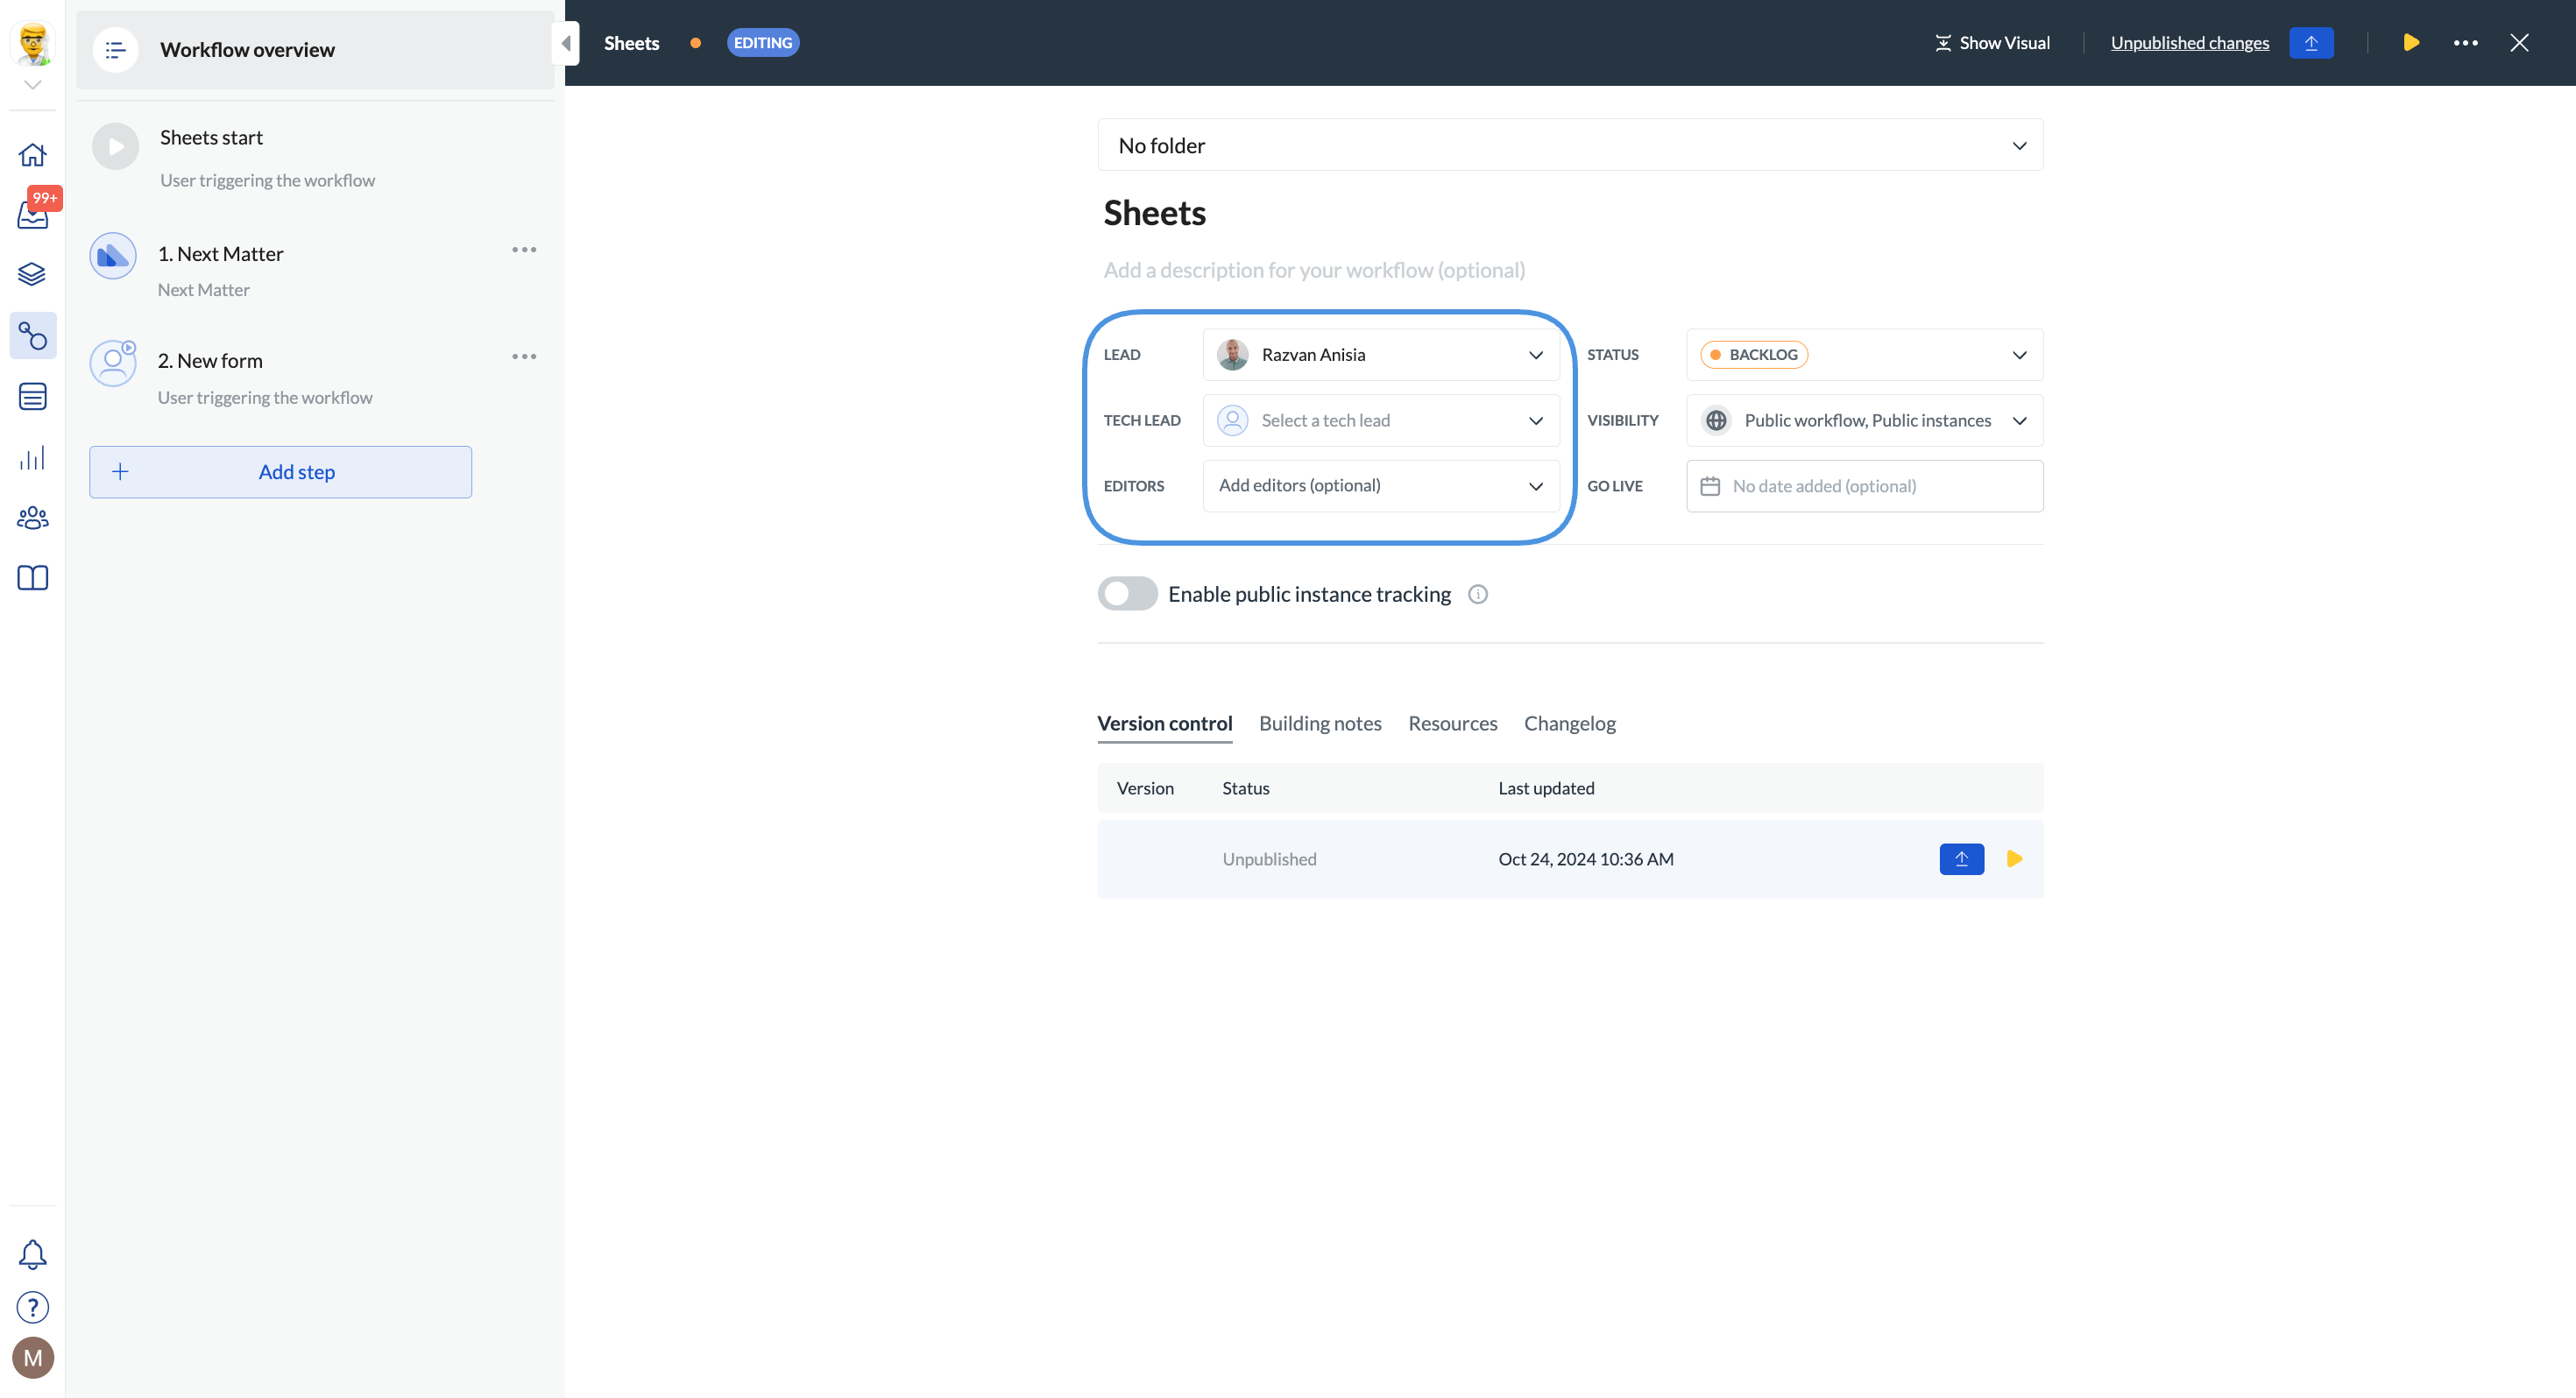
Workflow change history
You can see what changes have been made to the workflow, who made them, and when in the Changelog tab in the Workflow overview. The changelog displays all events from the latest to the oldest.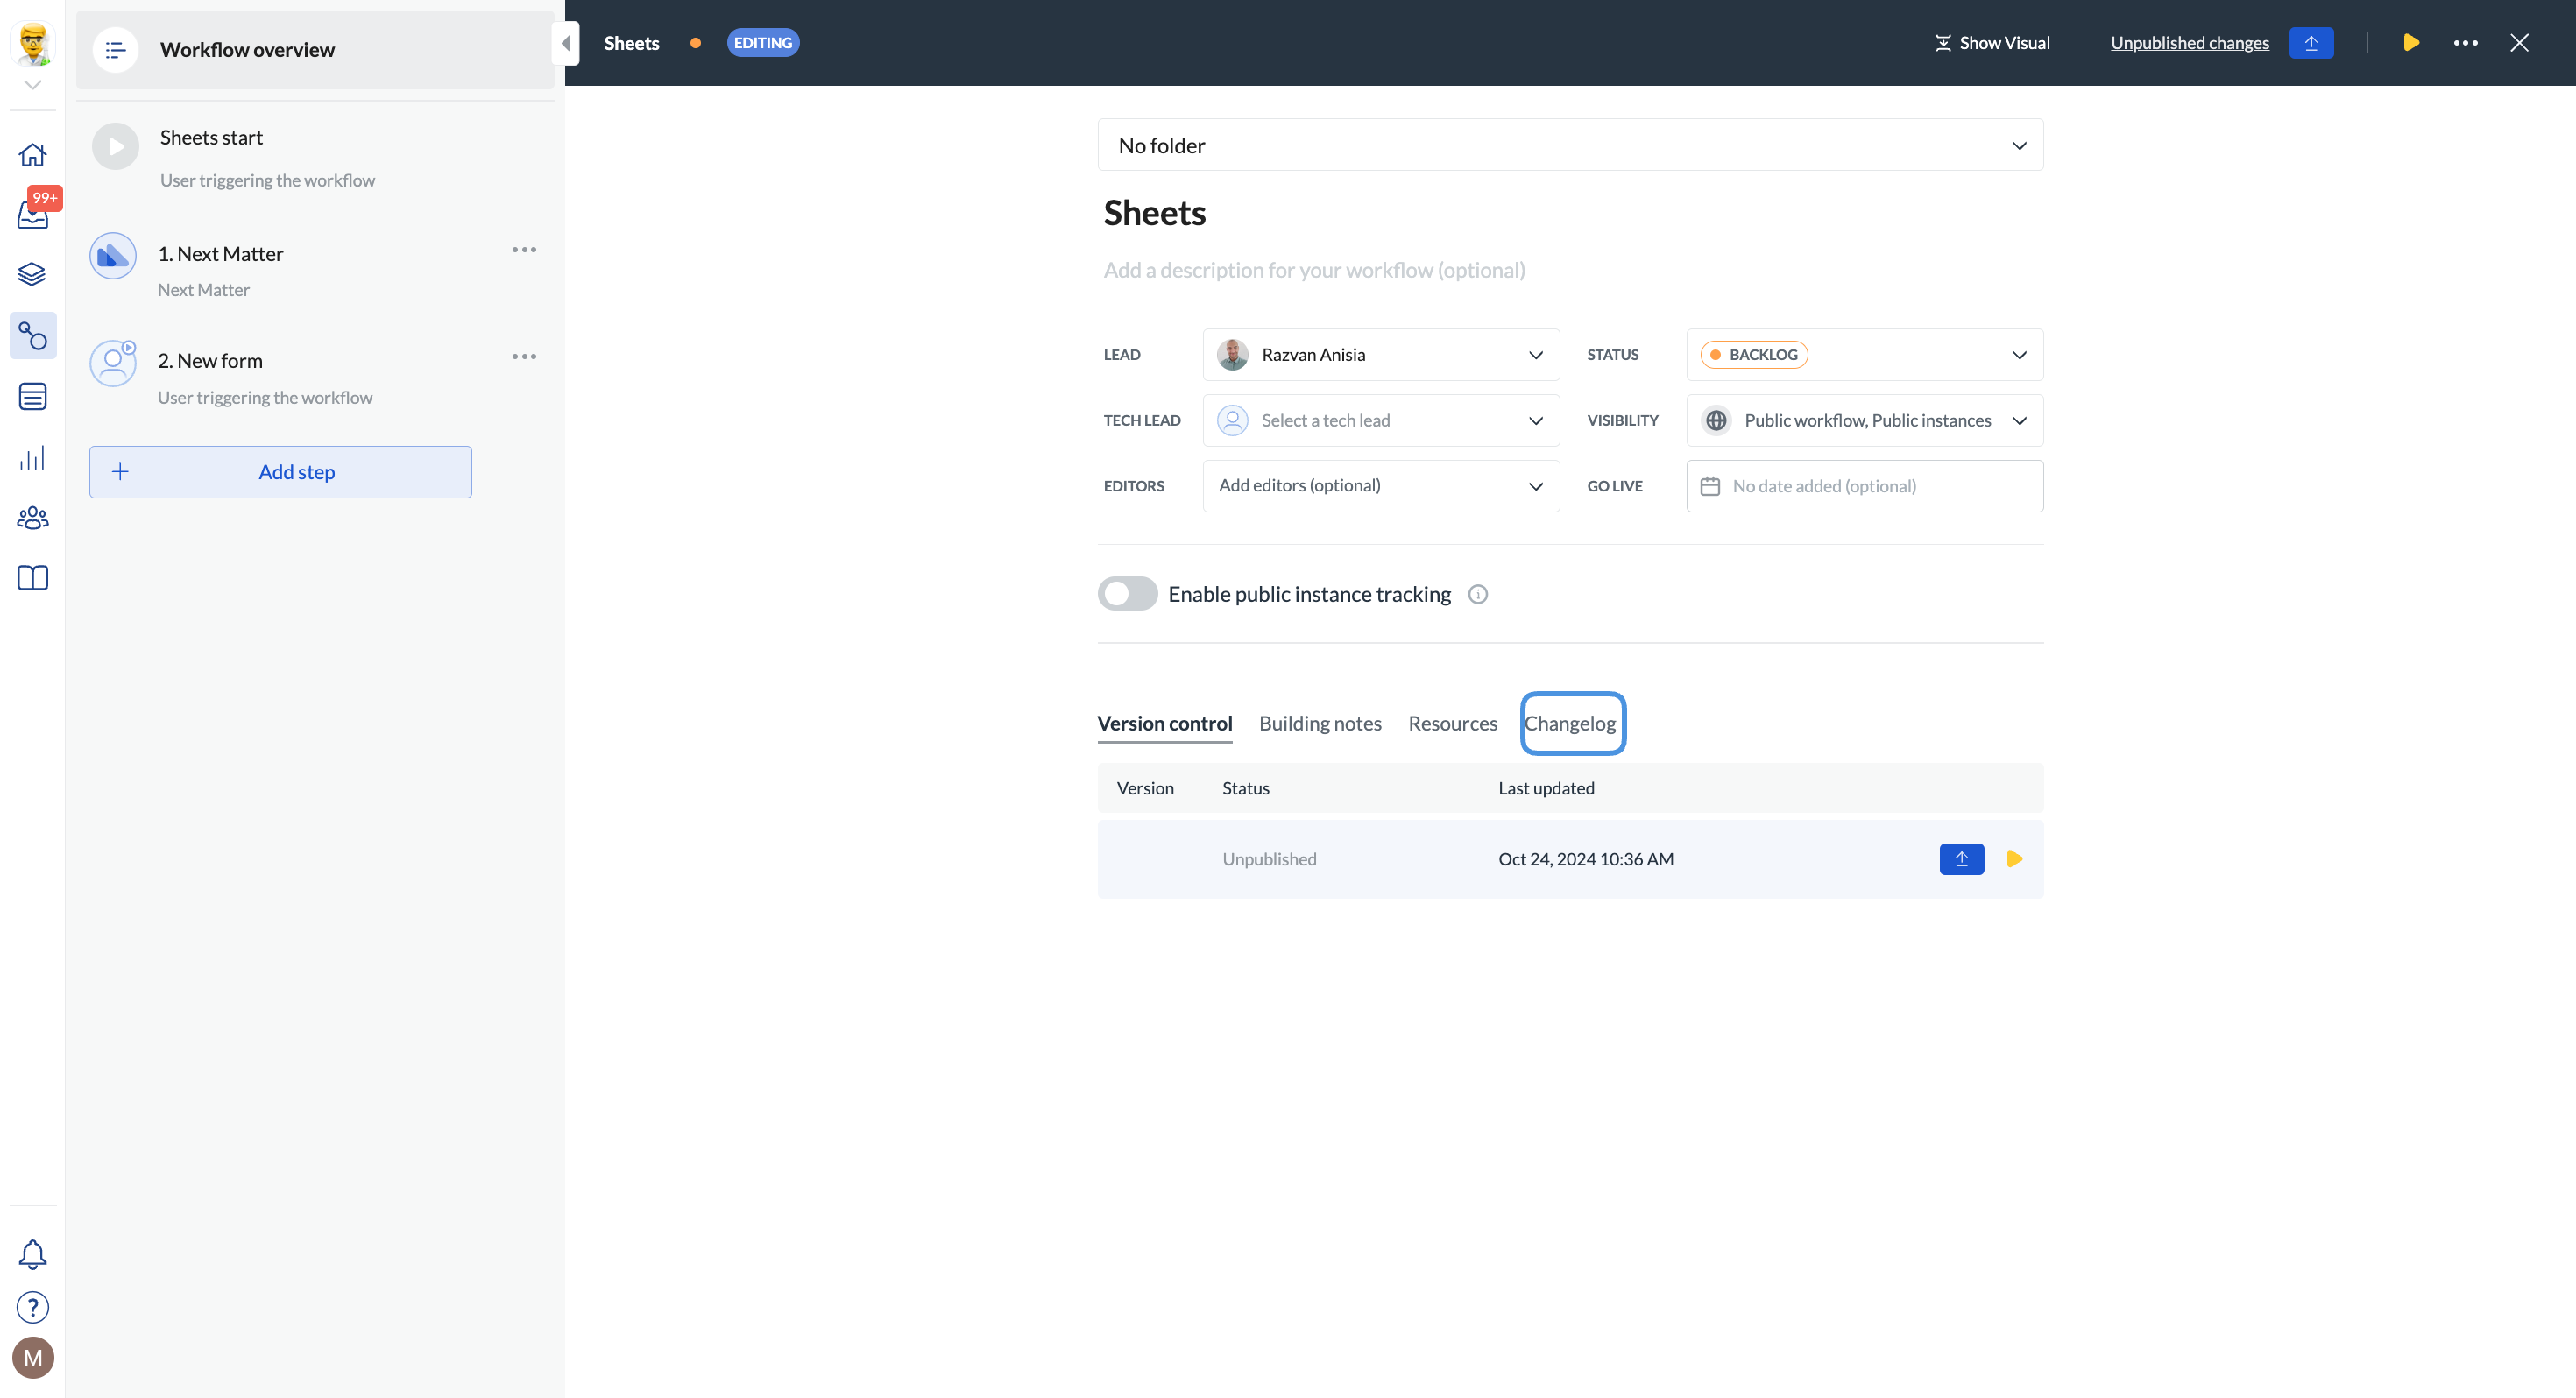
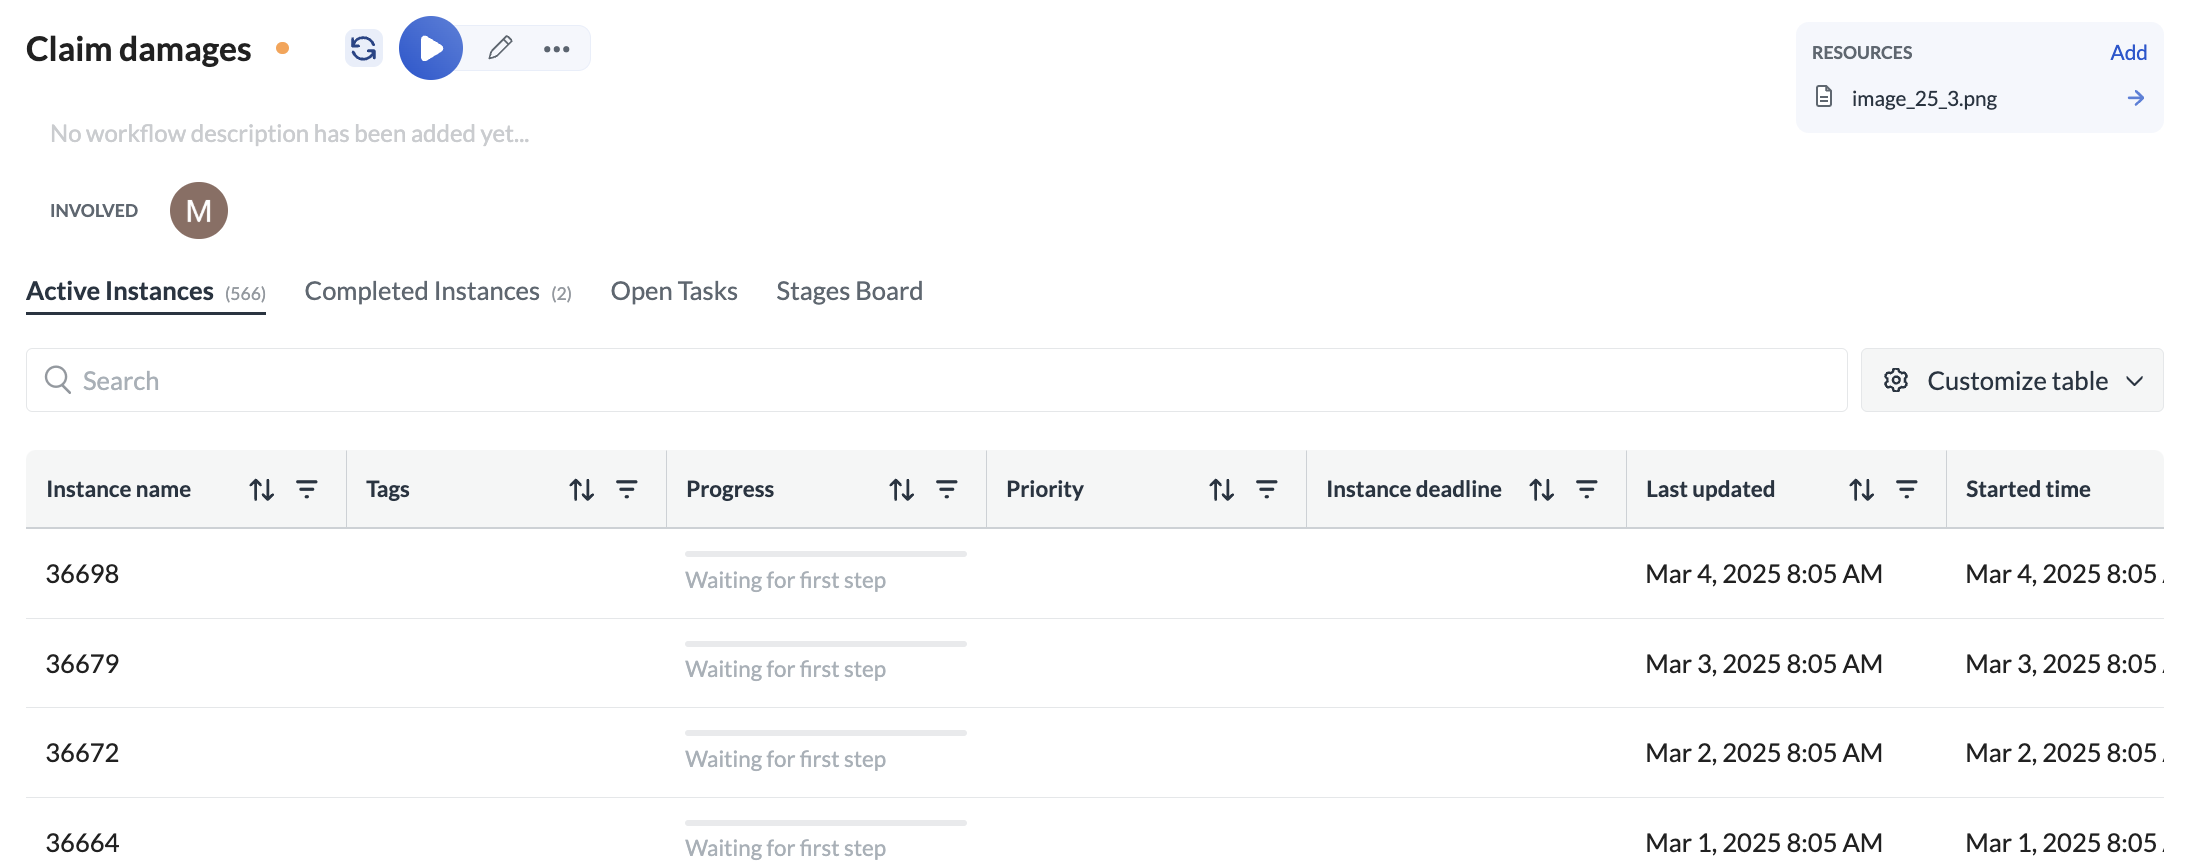
Resources
To help users complete and understand workflows, you can upload files (such as PDFs, PNGs, GIFs, or DOCs) or add useful links as workflow resources. You can add resources on the Workflow overview page under the Resources tab or directly on the workflow page (accessible by clicking a workflow) in the top-right corner.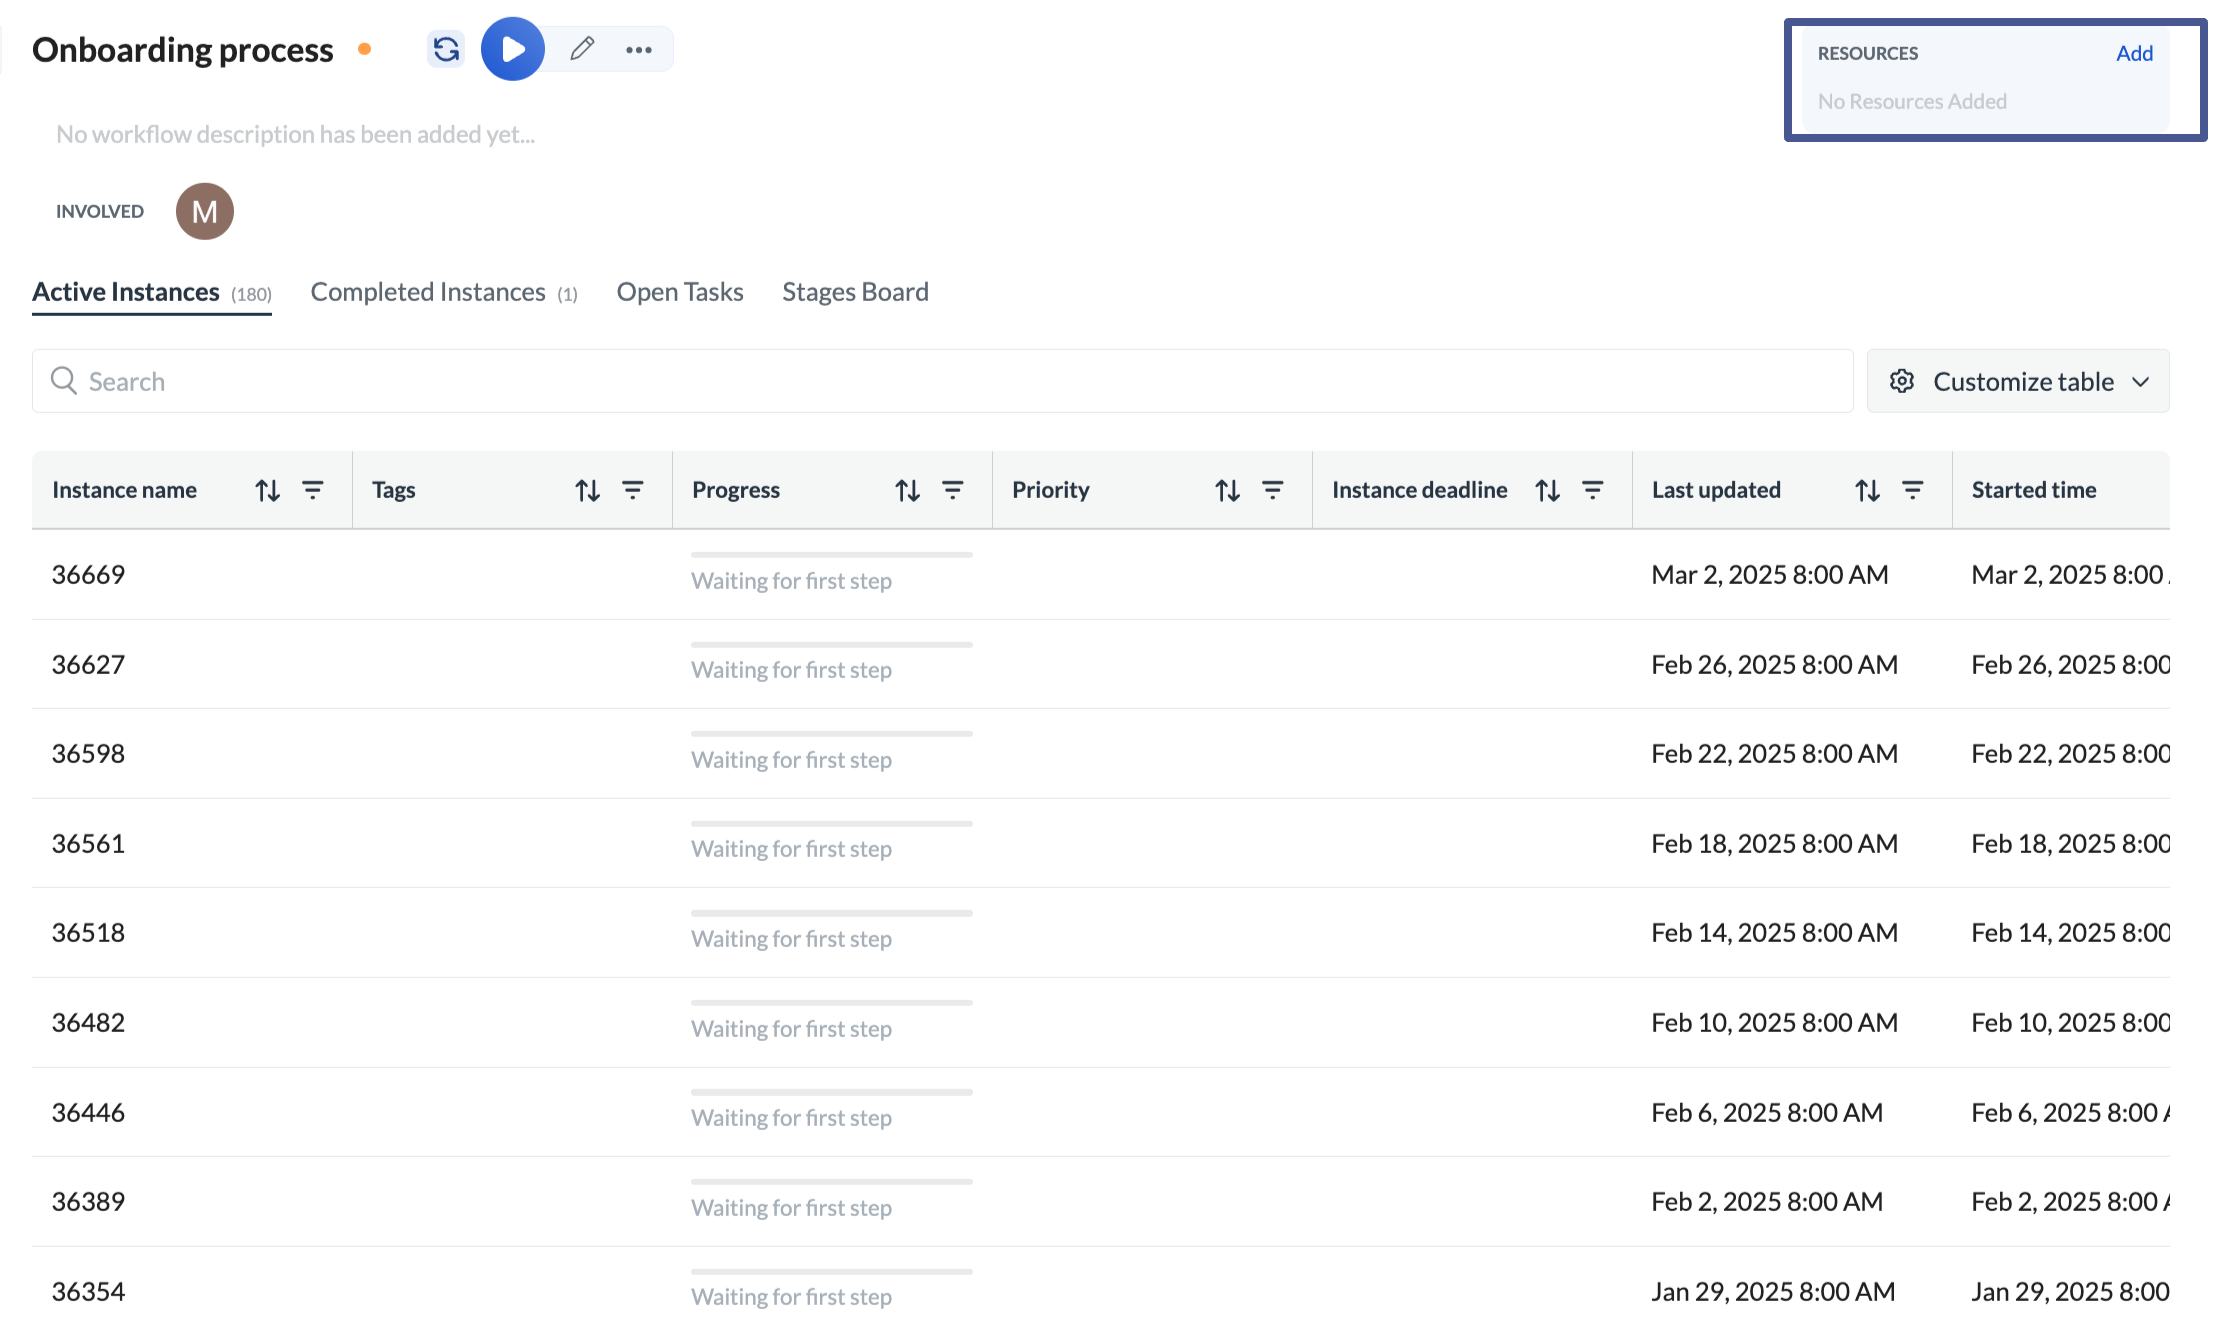
A resource file can be a maximum of 50 MB.