By default, steps are blocking. Non-blocking steps are not optional.
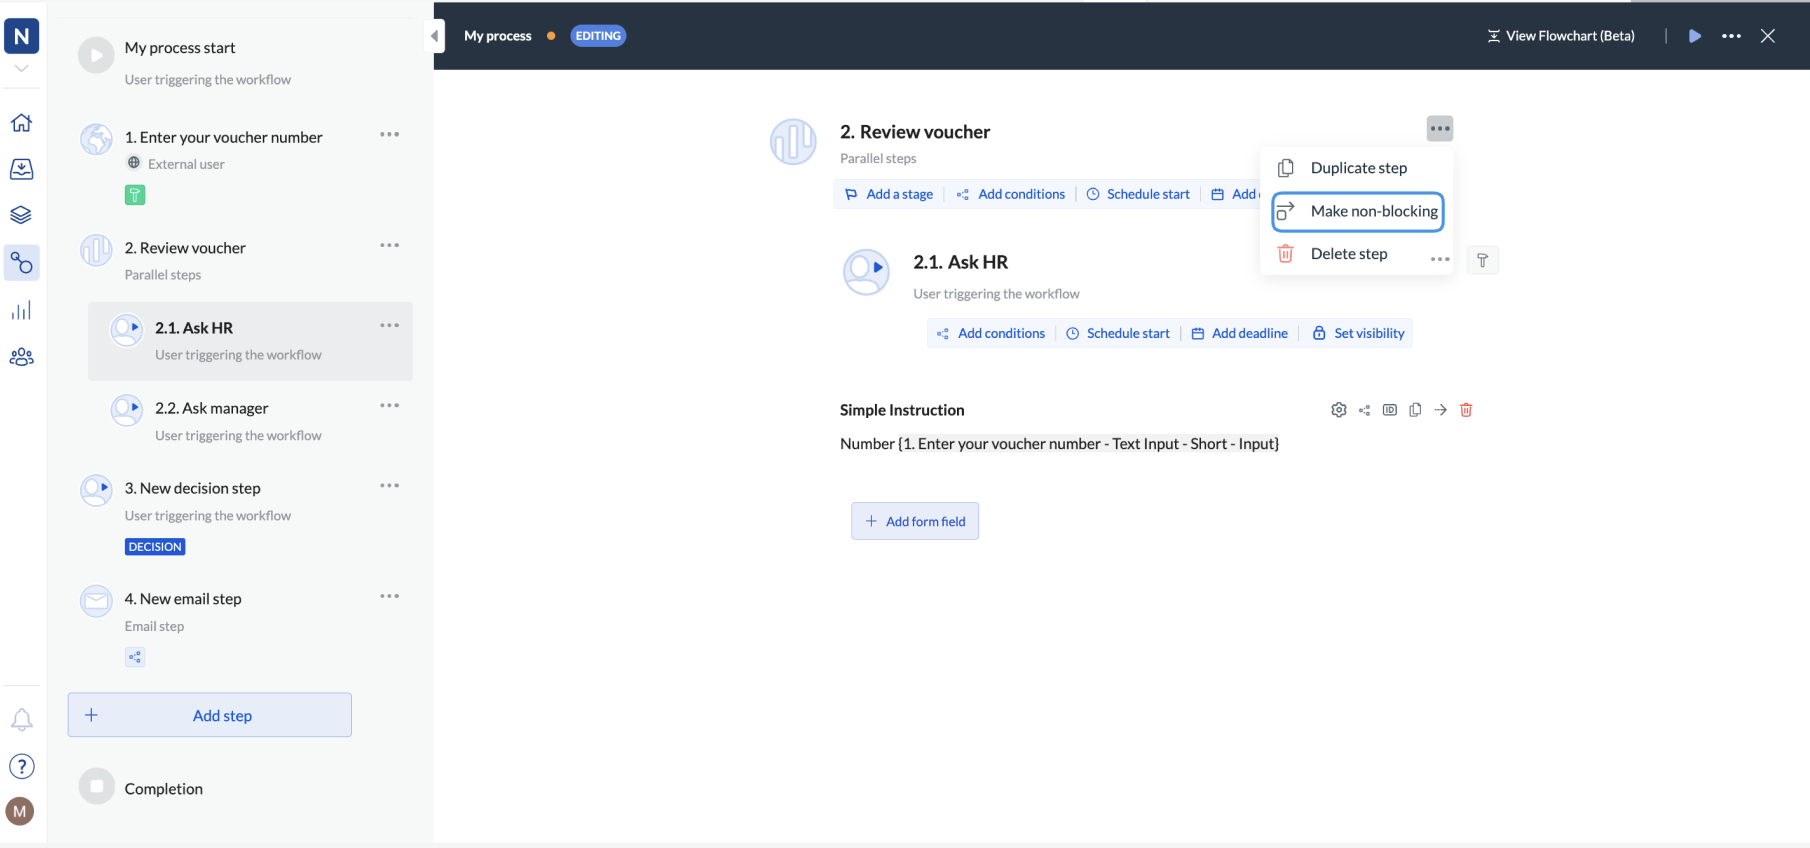
- Click the step to open it.
- Click … on the right-hand side of the step’s name.
- Click Make non-blocking.
Step types and non-blocking option
If you add the non-blocking option:- to a normal step -> the next step will activate without waiting for the step to complete
- to a parallel step -> the next step after the parallel step will activate without waiting for the parallel step to complete
- to a step inside a parallel step -> this will not have any effect because all steps in a parallel step activate at the same time
- to a group step -> the step after the group step will activate immediately. The steps inside the group step will remain sequential
- to a group step that’s nested inside a parallel step -> the step after the group step will activate immediately. The steps inside the group step will remain sequential